


Qt 3D: Simple QML Example▲
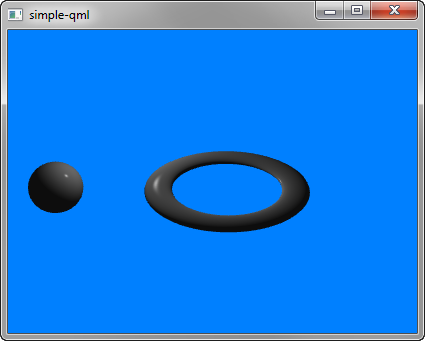
Simple demonstrates how to render a scene in Qt 3D.
Running the Example▲
To run the example from Qt Creator, open the Welcome mode and select the example from Examples. For more information, visit Building and Running an Example.
Setting Up the Scene▲
We set up the entire scene in the main.qml file.
To be able to use the types in the Q3D and Q3D Render modules, we must import the modules:
Sélectionnez
import Qt3D.Core 2.0
import Qt3D.Render 2.0
The first entities we create are a Camera, which represents the camera used for the final rendering, and a camera controller, which allows us to control this camera using the keyboard or the mouse:
Sélectionnez
Camera {
    id: camera
    projectionType: CameraLens.PerspectiveProjection
    fieldOfView: 45
    aspectRatio: 16/9
    nearPlane : 0.1
    farPlane : 1000.0
    position: Qt.vector3d( 0.0, 0.0, -40.0 )
    upVector: Qt.vector3d( 0.0, 1.0, 0.0 )
    viewCenter: Qt.vector3d( 0.0, 0.0, 0.0 )
}
A RenderSettings entity specifies a ForwardRenderer as the active framegraph:
Sélectionnez
components: [
    RenderSettings {
        activeFrameGraph: ForwardRenderer {
            clearColor: Qt.rgba(0, 0.5, 1, 1)
            camera: camera
            showDebugOverlay: true
        }
    },
    // Event Source will be set by the Qt3DQuickWindow
    InputSettings { }
]
The event source is set by the Qt3DQuickWindow:
Sélectionnez
InputSettings { }