Screen Capture Example▲
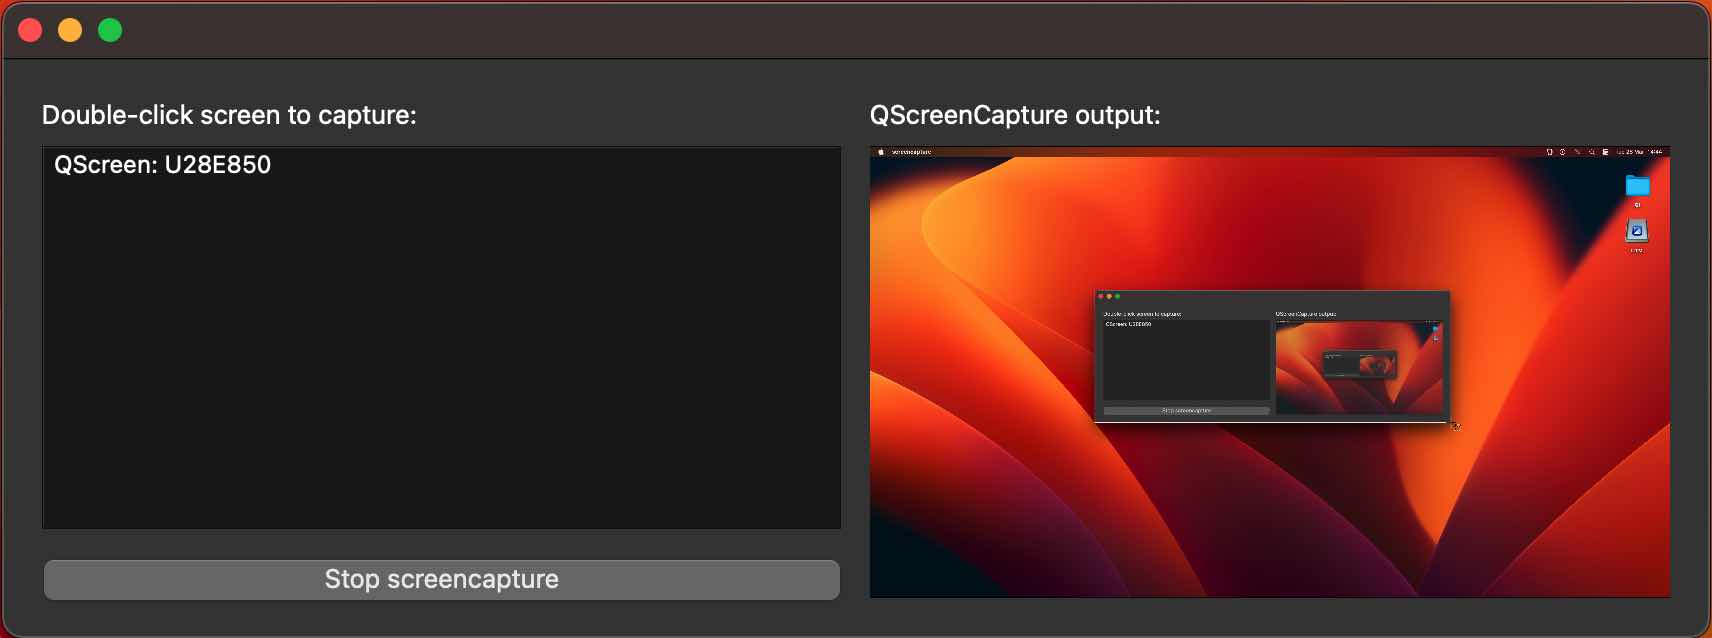
Screen Capture demonstrates how to capture a screen using QScreenCapture. The example shows a list of screens and a live preview of the selected item using a QMediaCaptureSession and a QVideoWidget. There is also a button to start and stop the capturing.
Running the Example▲
To run the example from Qt Creator, open the Welcome mode and select the example from Examples. For more information, visit Building and Running an Example.
Application Structure▲
The example consists of two custom classes. The UI and all screen capture functionality is implemented in the class ScreenCapturePreview. The class ScreenListModel only serves as a model behind the QListView widget. The main function creates a ScreenCapturePreview object, which in turn creates an instance of QScreenCapture, QMediaCaptureSession and QVideoWidget in addition to all the UI widgets.
The list is populated with the return value of QGuiApplication::screens().
When a list item is selected, it is connected to the QScreenCapture object with QScreenCapture::setScreen(). The QScreenCapture object is connected to the QMediaCaptureSession object with QMediaCaptureSession::setScreenCapture(), which in turn is connected to the QVideoWidget object with QMediaCaptureSession::setVideoOutput(). Thus the screen capture output is previewed in the video widget on the right hand side of the UI.
The start/stop button calls QScreenCapture::start() and QScreenCapture::stop().
A QMessageBox pops up if the QScreenCapture::errorOccurred signal is emitted.


