


Qt Quick 3D - HelloCube Example▲
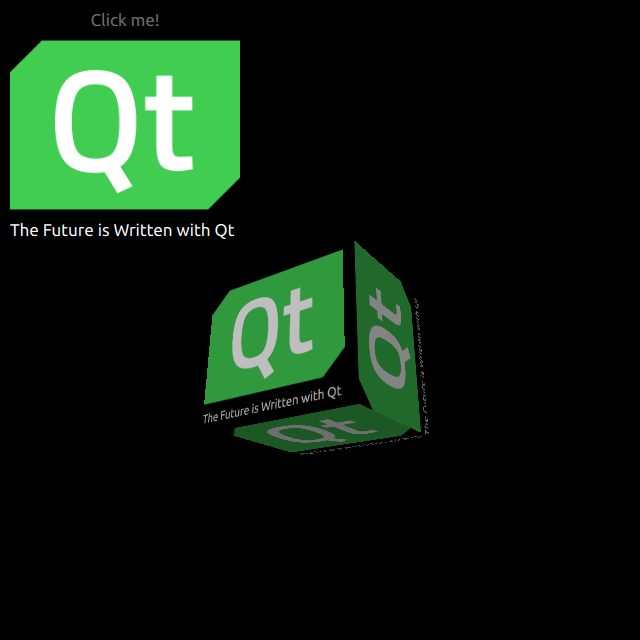
HelloCube demonstrates how to render a 3D cube with 2D items in Qt Quick 3D.
Draw 2D Items▲
We set up the entire scene in the main.qml file.
To be able to use the types in the QtQuick3D module, we must import it:
Sélectionnez
import QtQuick3DWe define simple QtQuick Items with an Image and a Text on a Rectangle.
Sélectionnez
Image {
    anchors.fill: parent
    source: "qt_logo.png"
}
Text {
    anchors.bottom: parent.bottom
    anchors.left: parent.left
    color: "white"
    font.pixelSize: 17
    text: qsTr("The Future is Written with Qt")
}
This simple rectangle has two animations for flipping vertically.
Sélectionnez
transform: Rotation {
    id: rotation
    origin.x: qt_logo.width / 2
    origin.y: qt_logo.height / 2
    axis { x: 1; y: 0; z: 0 }
}

PropertyAnimation {
    id: flip1
    target: rotation
    property: "angle"
    duration: 600
    to: 180
    from: 0
}
PropertyAnimation {
    id: flip2
    target: rotation
    property: "angle"
    duration: 600
    to: 360
    from: 180
}
Draw a 3D Cube▲
Drawing a cube is very simple. After defining a Camera, and a Light, we make a cube with a built-in Model. In this example, we render the previous 2D Rectangle on this cube surface as a diffuse Texture. In our Rectangle, we set layer.enabled to true.
Sélectionnez
layer.enabled: trueWhen enabled, this property makes the 2D item render into a offscreen surface, which we then use as a texture for our cube.
Sélectionnez
id: cube
source: "#Cube"
materials: DefaultMaterial {
    diffuseMap: Texture {
        sourceItem: qt_logo